“On my birthday, Mama, I would like a whole lot of Cheetos.” Thus declares the Kransling who is across the table from me; it has been duly noted. His birthday, though, is still several months away. He may change his mind.

“On my birthday, Mama, I would like a whole lot of Cheetos.” Thus declares the Kransling who is across the table from me; it has been duly noted. His birthday, though, is still several months away. He may change his mind.
Last post I talked about our switch from (closed) vintage metal cabinets to an all-open shelving look for our kitchen lowers.
I’m wanting a really simple and straightforward look, like these in the Gaines’ laundry room. We particularly like the slats on the bottom of the shelves and will probably do that.
What’s a colloquium? Click here for our vision & the backstory on this room.
We planned for a while to put built-in bookcases in the corner where the piano’s going (here’s the post about the colloquium floorplan in case you’ve forgotten where that is) but I assumed the design was pretty much solid in Jeremy’s mind, so I didn’t think too much about it. Until the day I asked him what said design was–and he said he didn’t know yet.
the piano goes against that back (unpainted) wall.
This post is brought to you by a relentless bout of nesting. I use the word relentless quite literally–I have felt like I’m losing my mind, and acting like it too. If you think I’m exaggerating, well, let me tell you a story.
We have always wanted to tear down the load bearing wall between our two awkward front rooms and have a vaulted ceiling. With some interesting truss design, we decided to. We called the new space The Colloquium (a place for conversation).
But names and dreams are easy. Bringing those hopes to fruition is the difficult part.
We have been beyond blessed to have a friend whose guidance allowed the dreams to transform into the work. Also, we have had the good fortune of the use of my parents’ house while working on our home. We do sleep in our house, but we cook, eat, work, nap, and do school over at The Ham House.
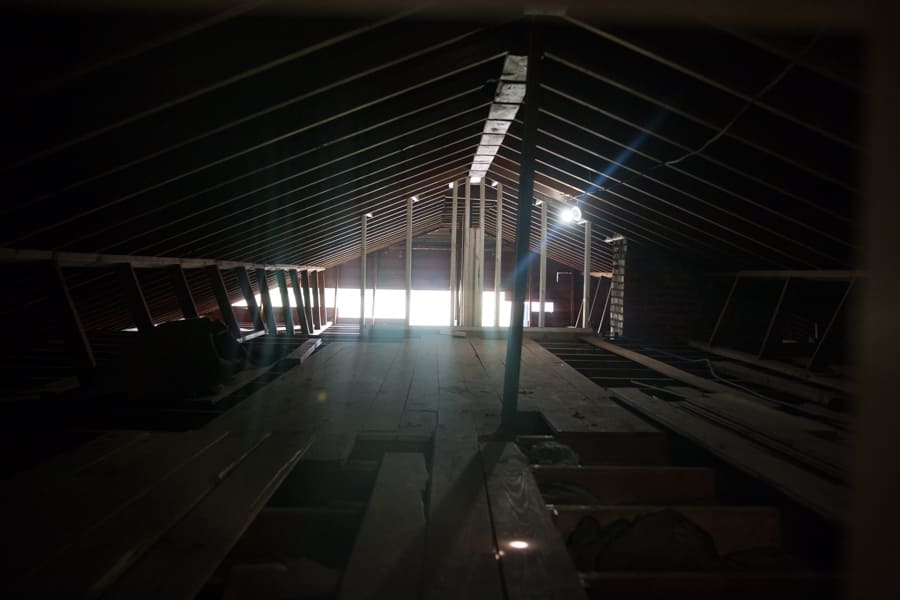
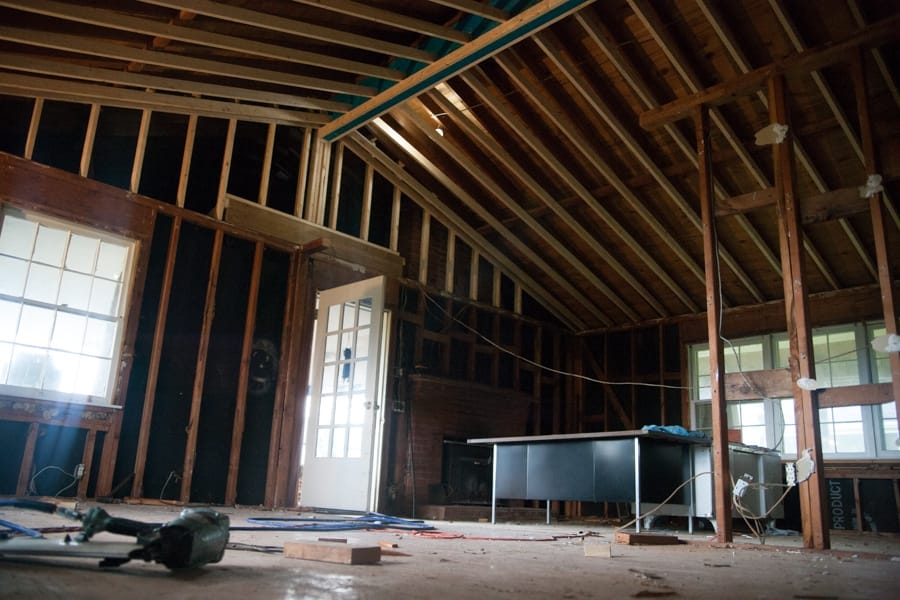
Here’s a brief visual of the process of vaulting the ceiling and busting at that troublesome load bearing wall.
One thing that is really important to note is the weight of your roof and the strength of your foundation. Changing the support for your ranch roof can be relatively straight forward if you know what you’re working with. I highly suggest a couple hours of research (I’ve loved this channel) and the advice of an engineer. You can see the place for the beam to sit own at the end of the attic, below. Luckily, the builders didn’t use trusses! We had a rather cavernous attic and knee boards supporting the lower part of the roof.
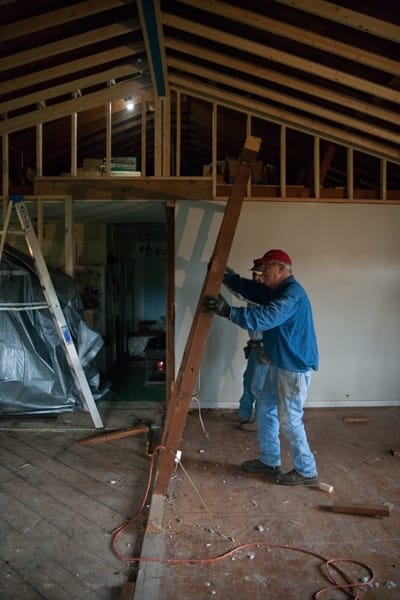
Since the wall we were tearing out was a load bearing wall, we would need a beam. However, one does not simply just place a beam in the attic. The first step was to decide on a beam. There are a lot of options and after some deliberation we chose an LVL beam. They’re engineered (read: stronger than solid wood) and the literature will show how much they can support. But perhaps more importantly it was the best choice to work with our truss design.
After we purchased two LVL beams to install in tandem, we took the first step in construction and built two smaller walls at each end of the ceiling to support the beam. Since our beam was extending to the end of the exterior wall on one end, we simply built a wall that vertically tied in the roof to the exterior wall.
The purpose of this was really to build a wall and protect the room from the elements, rather than support the beam. The support for the beam is specifically in the middle of the wall and the weight of that support is distributed on the wall/foundation. Since we have a full basement, there is zero worry of extra stress on the foundation–that’s a nice win!
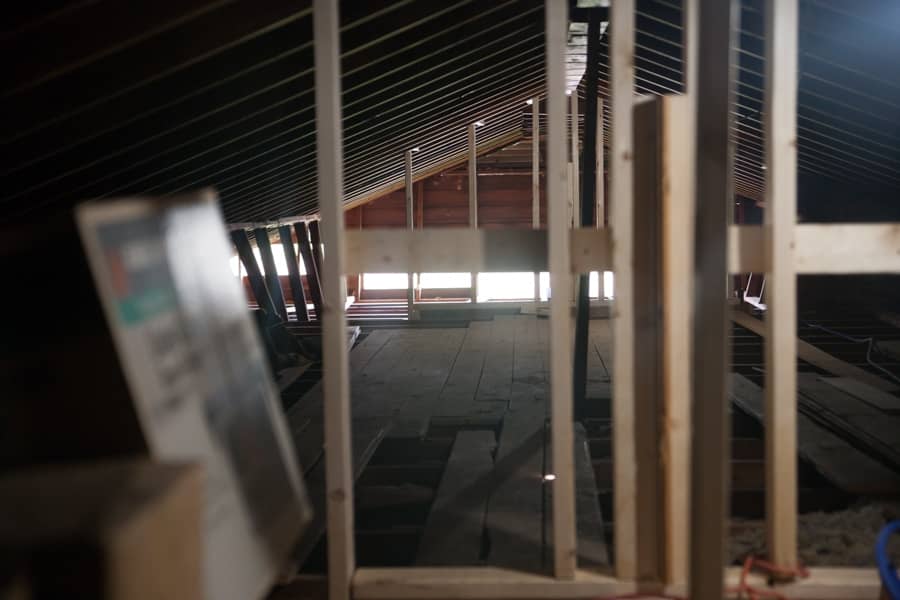
The blurry part in the foreground is for the other end of the beam.
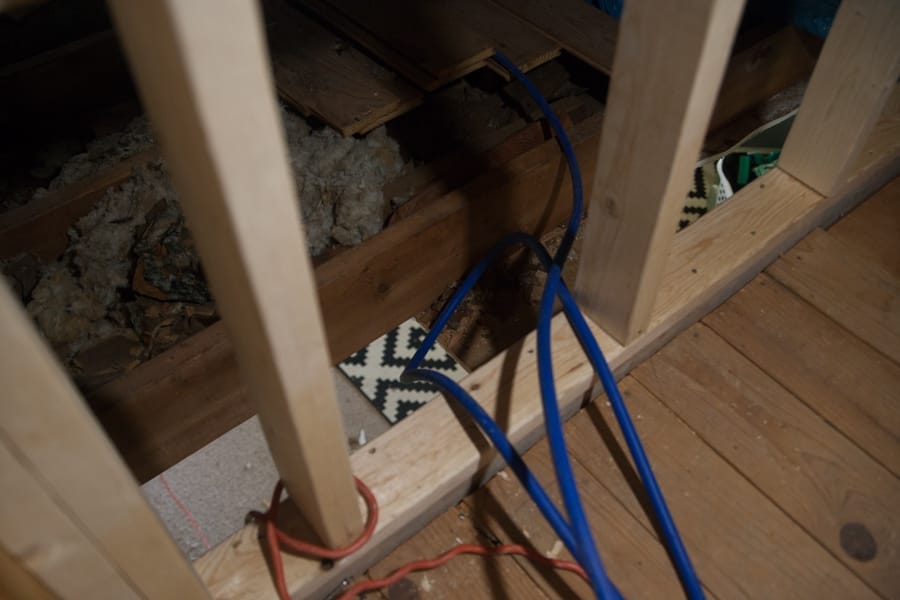
A hole in the ceiling–a preview of things to come.
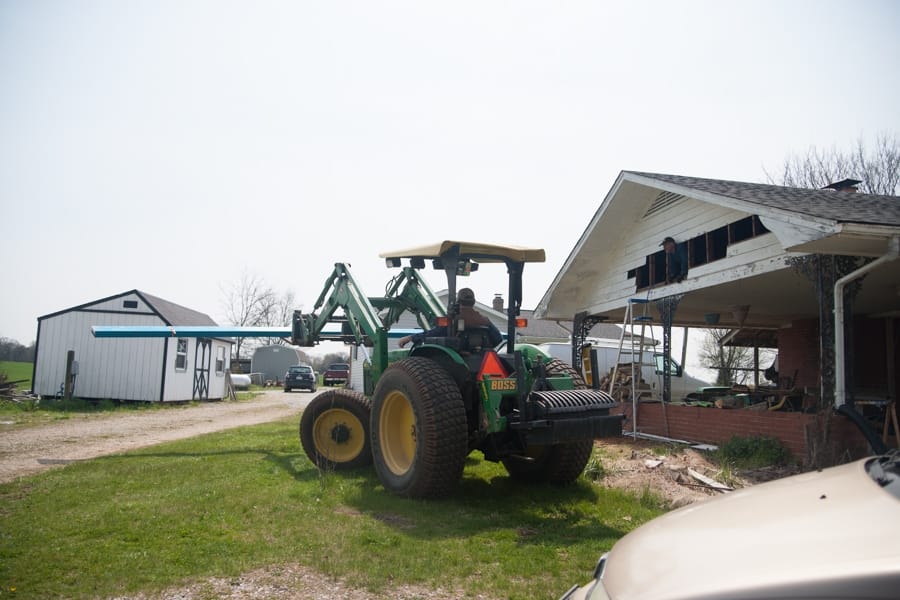
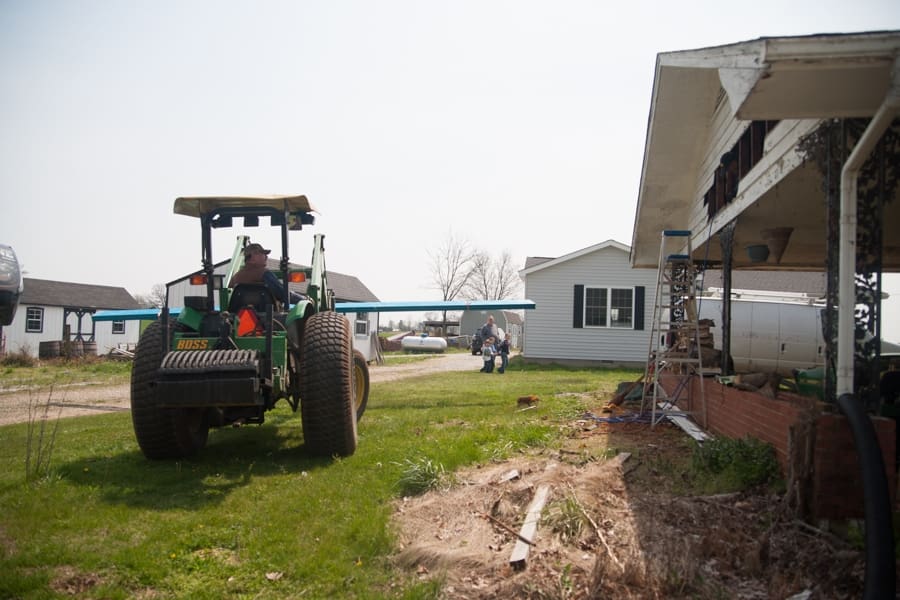
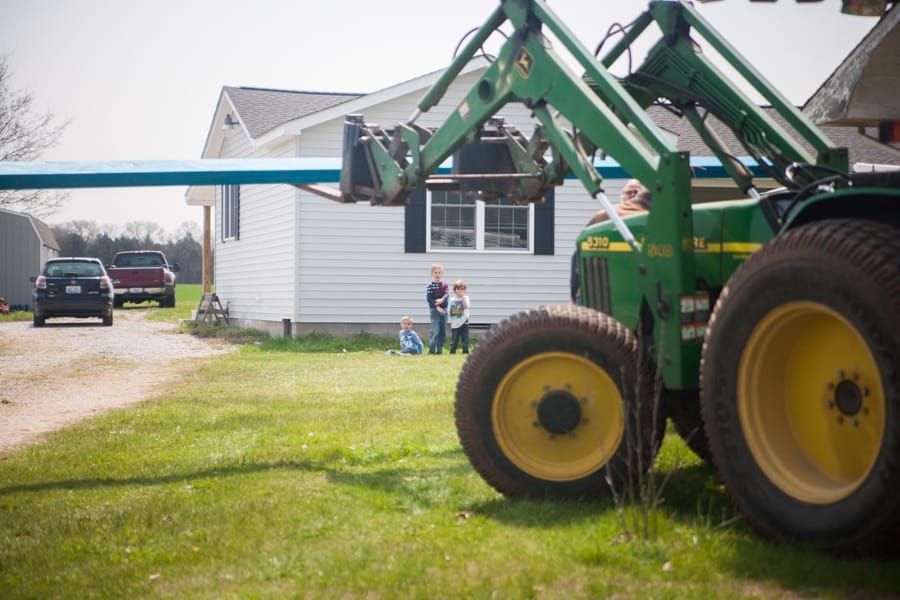
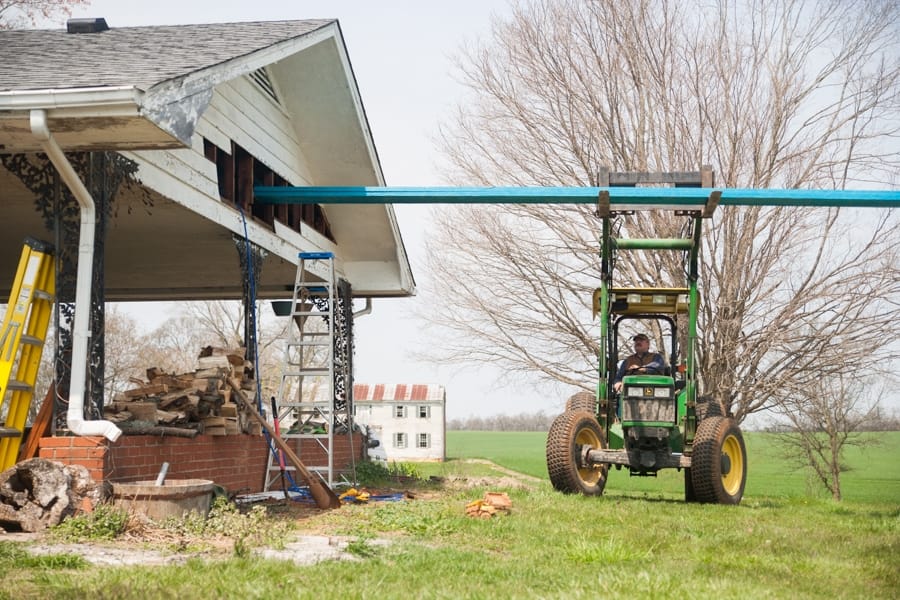
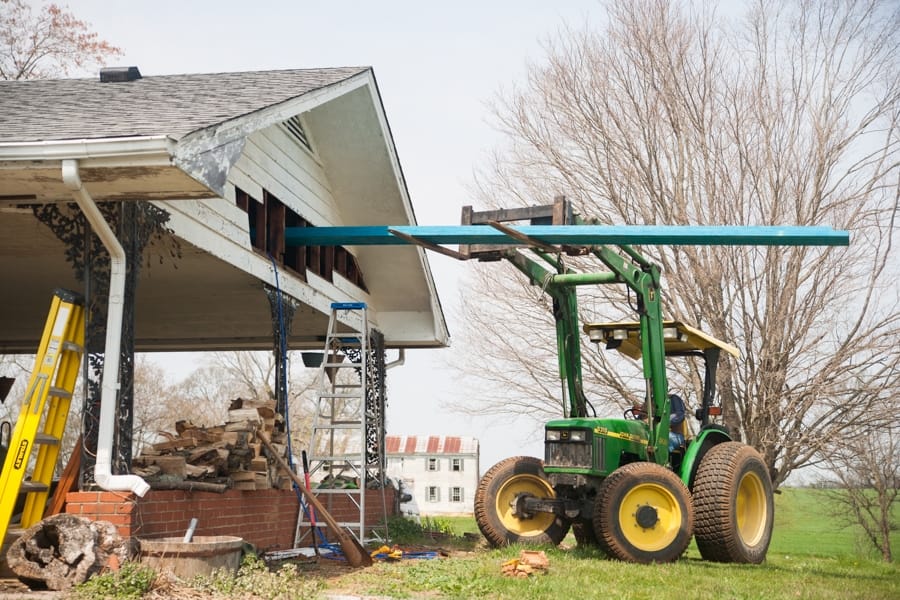
Oh man were we racking our minds on how we were going to get that beam in the attic! Pulleys, ladders, skid steers, etc… were all in the mix. Finally, with the aide of another friend, we tore off some siding on the end of our home, slide the beam in and sealed it back up!
This whole process only took a couple hours, and man, do I want one of those tractors!
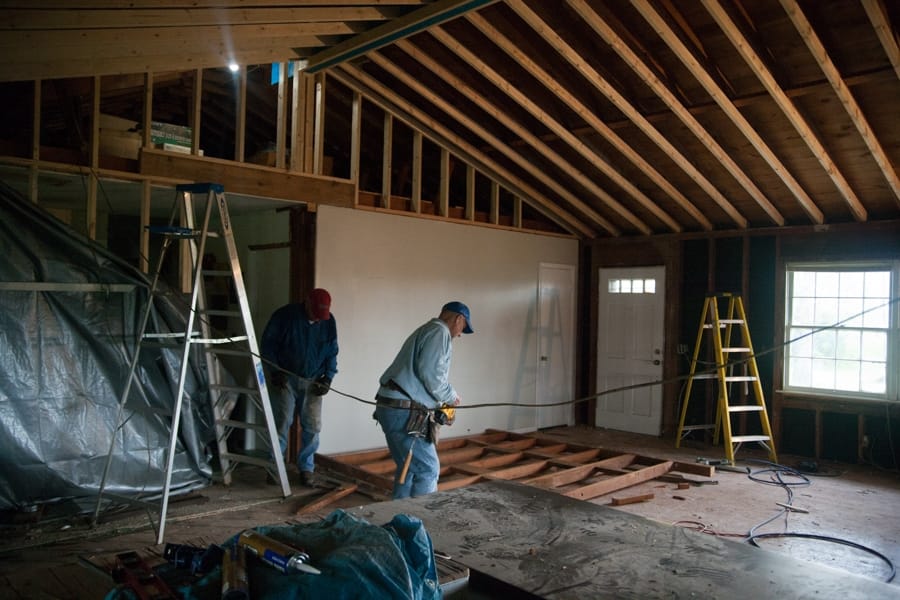
After securing the lvl beam, we proceeded to remove the wall! The moment we’ve been waiting for! So, we hung a tarp to keep the dust out of the rest of the house. That vintage, 60’s dust.
Then we proceeded to remove the ceiling joists and make room for our truss design. We have great plans for repurposing these joists.

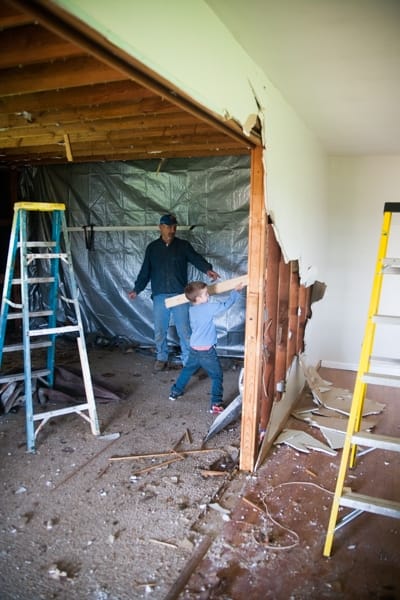
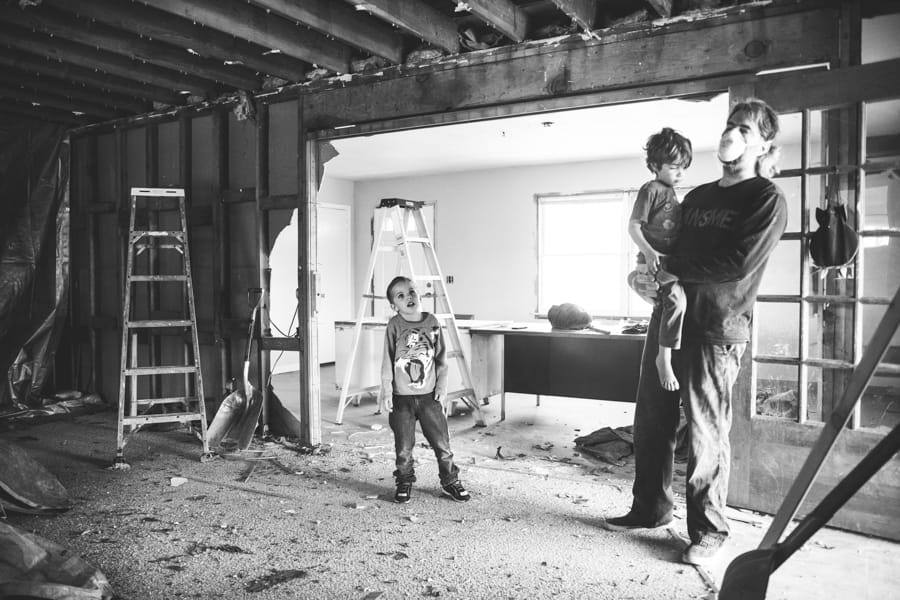
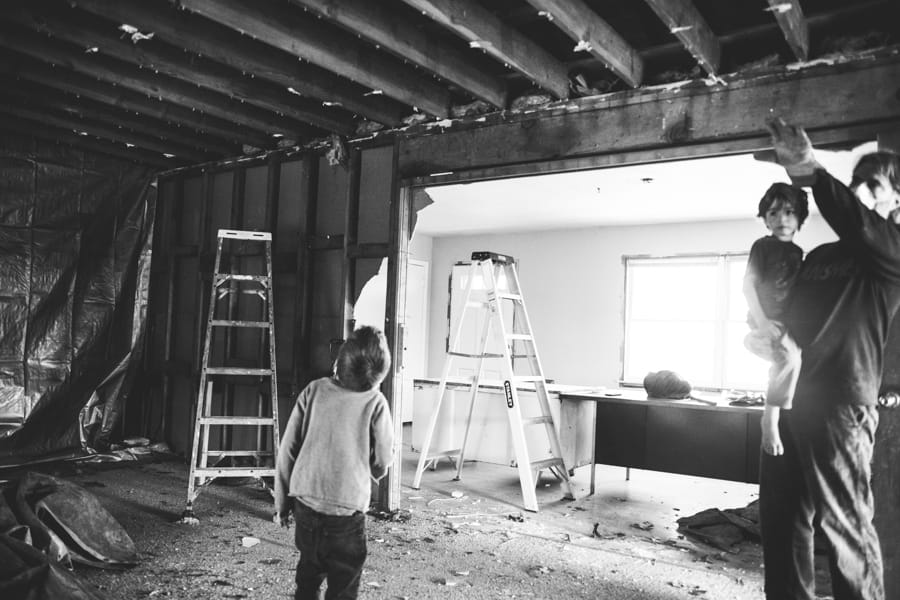
The kids got to help too.
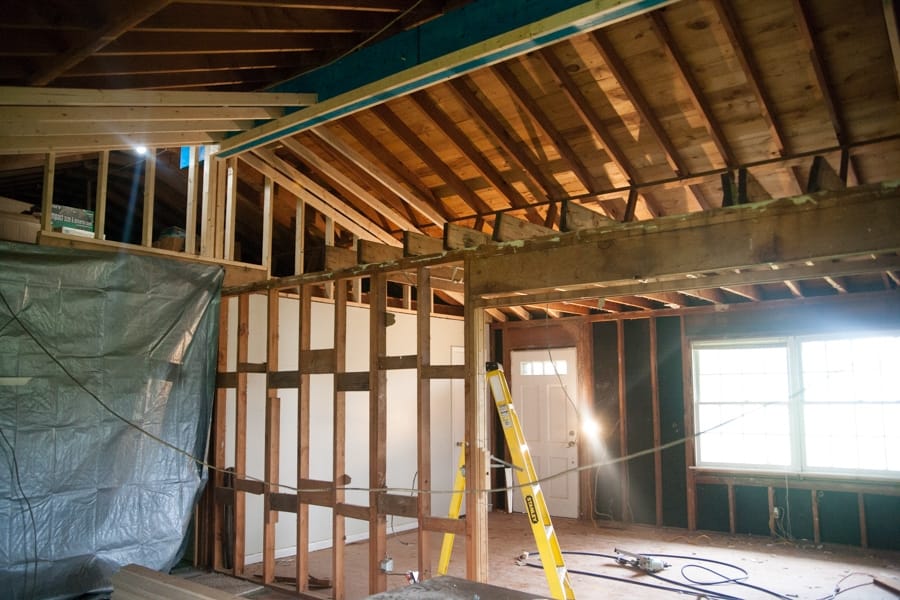
While probably not necessary, we decided to tie in the roof to the beam with scissor trusses. This will give the roof extra stability and depth for cellulose insulation.
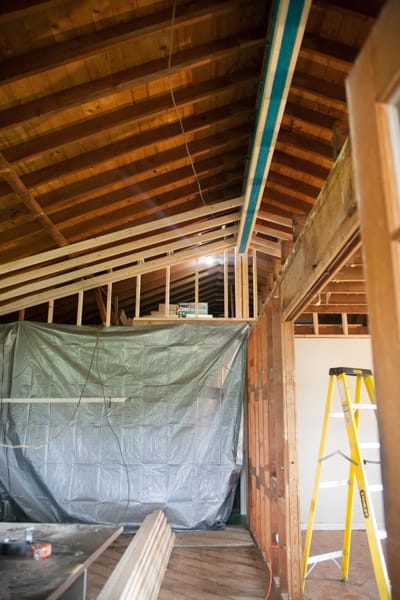
In the picture below, there are some 2x4x15s stretched from the outer wall to a shelf we made on the lvl beam. After they were aligned, we “tied” the 2x4s into the rafters with some left over lumber.
Then we removed the skeletal remains of the wall.
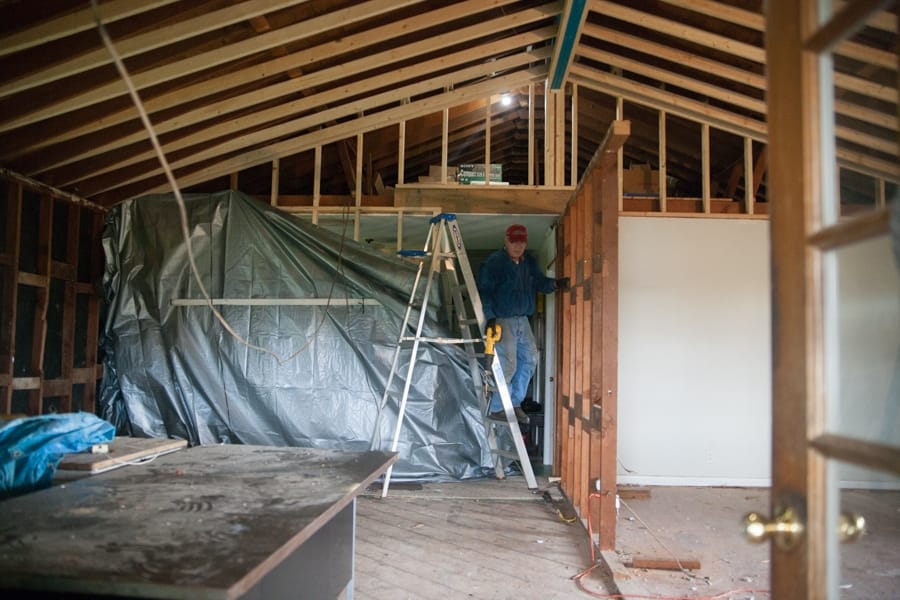
What was easily the most intense and daunting phase of the process was actually probably the quickest. In total, we took three weeks to remove the wall and vault the ceiling. After that comes windows and door replacement, insulation, drywall, flooring, ceiling, and of course floorplans and the like, and gathering the cabinetry and appliances for the kitchen.
I had made a list of must-haves for our new kitchen to help me with the planning phase.
My list, really, was not exhaustive. I maybe should have edited it for these posts. But it was my gut-reaction, first-impulse list; the things that came to my mind first and immediately. So, in the interest of honesty, I’ve left it as-is.
What I neglected to add to the must-haves was for the workspace to be navigable by more than one or even two people simultaneously. We have five children (and counting) and the older ones do like to help in the kitchen. Plus I will never turn down the offer of help cooking or cleaning up from whomever happens to be visiting (it is my personal belief that accepting help is an essential part of being in a community, but that is another post for another day) and it is very difficult to manage help in a space where you can’t quite even pass another person without bumping into them into the stove where they’re cooking. (This is especially precarious if the stove is gas and you’re bumping them into an open flame.)
I could talk about all the steps and processes and incarnations of the layout, but to be honest, I don’t recall all of them and it was a frustrating process, so I will skip all of that and go straight to the end result, hm?
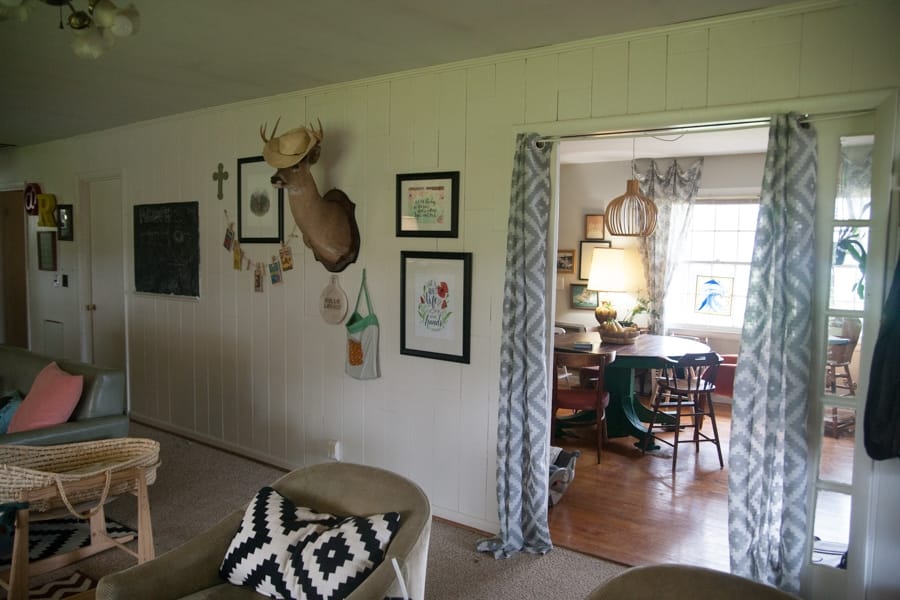
We decided to take down a wall, vault the ceiling, and name the new, blended space The Colloquium–a place for talking, for listening, for conversation. This is our hope.
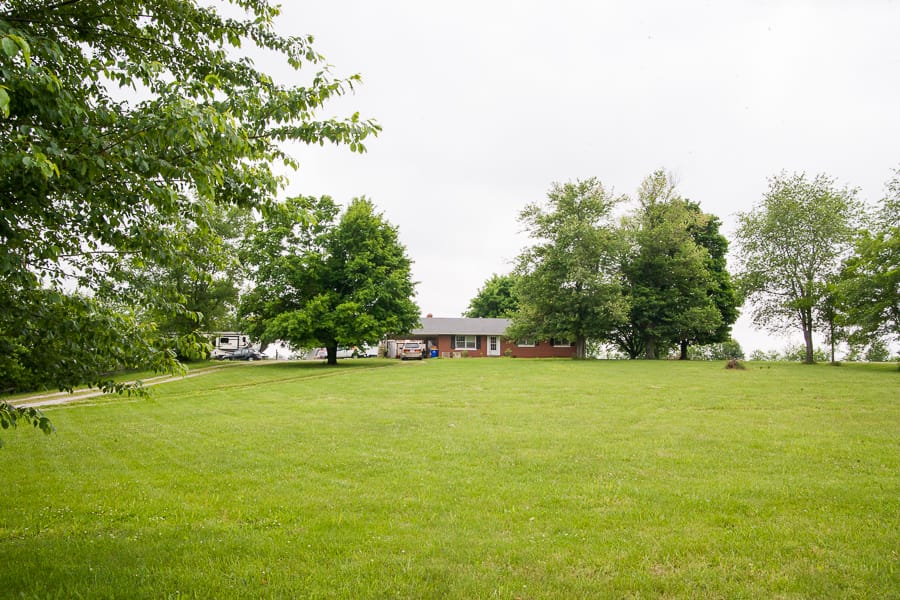
I grew up in this house. Did you know that? We moved here when I was just over two–about the age Elvie Kay is now. About the age Anselm was when Jeremy and I moved back here. I was homeschooled here, and it is safe to say that I know this house very well.
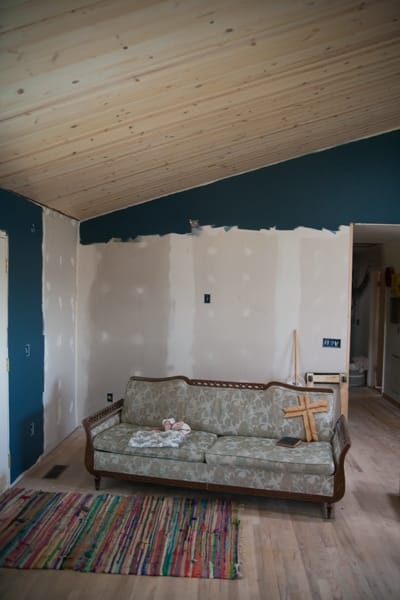
One of the perpetually frustrating features of the house was the wall diving the main living areas. It was (I assume) the typical formal living/informal living division that was common in houses of this vintage. But since we were hardly a formal family, we tried to spread our furniture and living needs across the two halves of the house. It meant instead that someone was always unfairly sequestered away from the rest of the family.